What does fact checked mean?
At Healthfully, we strive to deliver objective content that is accurate and up-to-date. Our team periodically reviews articles in order to ensure content quality. The sources cited below consist of evidence from peer-reviewed journals, prominent medical organizations, academic associations, and government data.
The information contained on this site is for informational purposes only, and should not be used as a substitute for the advice of a professional health care provider. Please check with the appropriate physician regarding health questions and concerns. Although we strive to deliver accurate and up-to-date information, no guarantee to that effect is made.
Homemade Thumb Splint
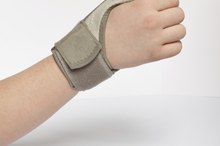
Most of us, at one time or another, have jammed a thumb or even sprained or broken it. It can be very uncomfortable, mainly because of the tendency to move your thumb when using any other part of your hand. The truth is with most minor injuries, the hospital will only splint it anyway--but you should still get it checked. However, in a pinch, a homemade splint will serve its purpose, which is to immobilize the injured thumb.
Splint Material
Look around the house for some stiff or inflexible material, such as plywood, sticks, cardboard, Styrofoam, plastic, rolled up newsprint or even two rolled up dish towels. If you do not have any splint material, you can simply use medical tape and tape your thumb to the base of your index finger so it is secure and you do not move it. But it is best if you can create a splint especially because of the marked difference in size of your thumb to the other fingers, and its positioning.
Making The Splint
How to Splint a Strained Thumb
Learn More
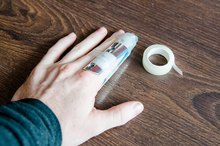
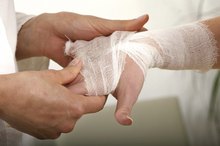
When making a splint, extend it about a ¼ of an inch beyond the tip of the thumb. This will insure the thumb stays secure and rests on the splint. You can either put the wood or cardboard on either side of the thumb or you can run the splint from the base of your thumb to just past the tip as a “backboard” fit to the width and length of the injured thumb. For this option, you would use one wider piece as opposed to two side splints. Secure the splint material with medical tape. If you do not have access to medical tape, you can use string or any other type of tape.
- When making a splint, extend it about a ¼ of an inch beyond the tip of the thumb.
- For this option, you would use one wider piece as opposed to two side splints.
Don't Thumb Your Nose at Medical Attention
Check the thumb often for excess bruising, increased swelling, severe pain or numbness. You should also seek medical attention. The homemade splint may hold you over until you can get to a doctor, but never use your own judgment or the information in this article as a substitute for sound medical advice.
Warning: If the thumb is severely broken, doctors may have to re-break it to align it. Thus, the sooner you can get it checked, the better.
- Check the thumb often for excess bruising, increased swelling, severe pain or numbness.
- The homemade splint may hold you over until you can get to a doctor, but never use your own judgment or the information in this article as a substitute for sound medical advice.
Related Articles
References
Writer Bio
Heather Langone has been a professional writer for six years. She has a master's degree in writing from the University of Southern California and has written for TV, print and online media. Recently, she was a writing finalist in the Great Lakes Film Festival. Currently, Langone is a full-time freelance writer and has published how-to articles through sites such as eHow.com and Travels.com.

